Getting your new Shopify store setup is exciting and getting your Google Ads setup properly is critical to start collecting valuable data used in targeting customers with paid Ads. I'm going to show you how to set up your Google G-Tag Code, plus the event tracking to report on E-Commerce transactional data.
This means sending the order information back to Google Ads so your reporting can reflect properly a "Conversion" while utilizing E-Commerce order data reporting. Below I have provided detailed instructions to add this code to your Shopify store. If you want help from Pelican Commerce to handle this for you then reach out to us anytime!
Step 1: Login to Google Ads and click on "Tools & Settings".

Step 2: In the "Measurement" area click on "Conversions".

Step 3: Click on the "+" icon in the upper left-hand corner.

Step 4: Select "Website" option.

Step 5: Fill in the following information in the boxes: Category select "Purchase". Conversion name "Use any name you want". Value "Use different values for each conversion". Count "Every".
Step 6: In the four dropdown options, leave the default values (unless you need to change for a particular campaign).
Step 7: Click "Create and Continue" button.

Step 8: Click "Install the tag yourself".

Step 9: Keep the default selected options on this page as-is. You will see your Google G-Tag Code first. This will be used to Copy-paste into your Shopify theme.liquid file in the "Head" area. (see below for how to add to Shopify theme).
Step 10: The second code is your event tracking code. Copy this code and add it into the Shopify Admin > Settings > Checkout > Order Processing (Area) "Additional scripts" area (see below for. how to add to your Shopify settings).

Now that you're at this point, you've accomplished getting Google to provide you with the one time G-Tag code to add to your theme. This is only ever added one time and is spread across all pages to track the overall movement of traffic sent from Google Ads to your website.
The second code you generated was an event tracking conversion code. This is to track when someone makes a purchase, at which time Shopify sends back the dynamic transactional order data to Google so you can report the value of the orders placed against how much you spent to generate that revenue. This code will be added to your Shopify checkout settings. This is also a one time code to add to Shopify.
Next I'm going to show you how to add this code into your Shopify store.
Step 11: Log in to your Shopify admin and head on over to the Online Stores area and click on "Themes."

Step 12: On the right-hand side, you will see in the published theme area, a drop-down called "Actions," click this button and select "Edit Code."

Step 13: On the left-hand side, you'll see a section called "Layout," inside this section, click "theme.liquid."
Step 14: The code file will appear to the right-hand side. Look for "<head>" and paste the G-Tag code under it.

Step 15: In the upper-right hand corner click the "Save" button.
Step 16: Head over to the lower left-hand corner of your Shopify admin and click on "Settings."
Step 17:. Click on "Checkout".

Step 18: Scroll down to the "Order Processing" section and located the "Additional Scripts" area.
Step 19: In the additional scripts box, paste in the Google event tracking code.
To prevent a customer from refreshing a page and triggering a "Conversion," you'll need to paste the following code before and after the event tracking code (see example below).
Above The Code
{% if first_time_accessed %}Below The Code
{% endif %}
Step 20: Now, to make the code dynamic by adding in Shopify Liquid Objects, you'll need to modify the event tracking code. Replace the entire section that has "Value," "Currency," and "Transaction ID" with the following code.
 'value': {{ checkout.subtotal_price | money_without_currency }},
 'currency': '{{ shop.currency }}',
 'transaction_id': '{{ order_number  }}'
Step 21: Click the "Save" button in the upper right-hand corner.
This is a set it and forget it dynamic code, and it will start tracking each user on the site. When a customer makes a purchase, it will fire that data back to Google, and that transactional data will reflect in your Google Ads reports. This is especially useful to see how much you're spending and how much revenue was generated for that Ad spend.
There is an additional option for the transaction amount reported from Shopify to Google Ads if you want to include subtotal, tax, and shipping in the total transaction amount.
'value': {{ checkout.total_price | money_without_currency }},Pelican Commerce is a full-service agency, and we help E-Commerce businesses set up their Google Shopping feeds, Google Ads account, and all the tracking code to be sure everything is connected and running smoothly. Reach out to us today if you need help getting this setup on your Shopify store.
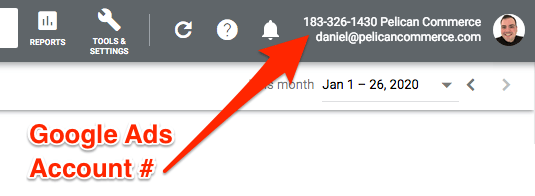
Providing access to your Google Ads account is easy and secure. All you need is your Google Ads account number located in the upper right-hand corner of your Google Ads account.

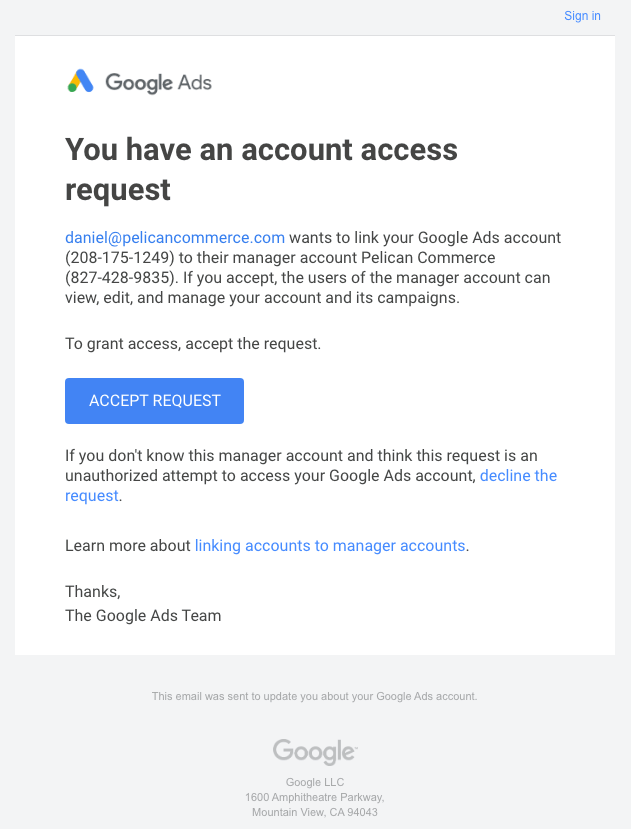
After you provide your account number to your Pelican Commerce project manager, we'll submit a request through our MCC "My Client Center" (Google's Agency Portal) to gain access to your account. You'll receive an email requesting your approval for access. Click the "Accept Request" button.

Once you click the accept request button, you'll be taken to your Google Ads admin portal, and you'll see a link to accept the access request under the "Actions" area. Click the "Accept" link.

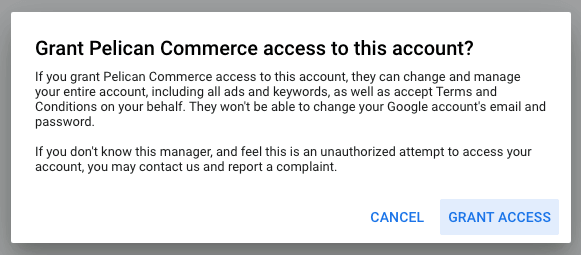
Once you click the accept link you'll see a popup where you will click the "Grant Access" link.

You're all set! Your Pelican Commerce project manager will be automatically notified and we'll take the next steps in moving forward with your project.
Google takes your advertising opportunity to a new level with Gmail Ads. Advertising in Gmail is a great way to be selective in who you target. These Ads give you the chance to display your product or service in a very prime location, across the top of the Gmail box. This means that your ad is set in a highly visible and noticeable place by those checking their email.
Using Gmail Ads can be a great addition to your advertising strategy plan. Have questions about getting started? Let's chat!
Facebook advertising is an excellent way for companies to market to a vast audience efficiently. With the size of Facebook, it can also be hard for companies with a limited budget to maximize conversions.
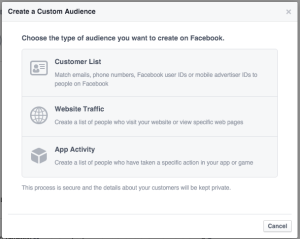
To help this ever-growing problem, Facebook offers a solution! All you need is a list of your current customers. (Typically, from a newsletter or CRM system.)
Loading this list into your Facebook advertising panel will help you be able to advertise not only to those customers already interested in your brand but also those who are similar to them. This is called a “lookalike audience.” When the algorithms are deciding who to display your AD to, it will look at who is in your list and everyone similar to those in your list and show it to them. This will help with conversions because your AD will be shown to only those who have the highest chance of clicking on your AD.


Want some help setting up your Facebook advertising to reach your perfect audience? Let's chat!